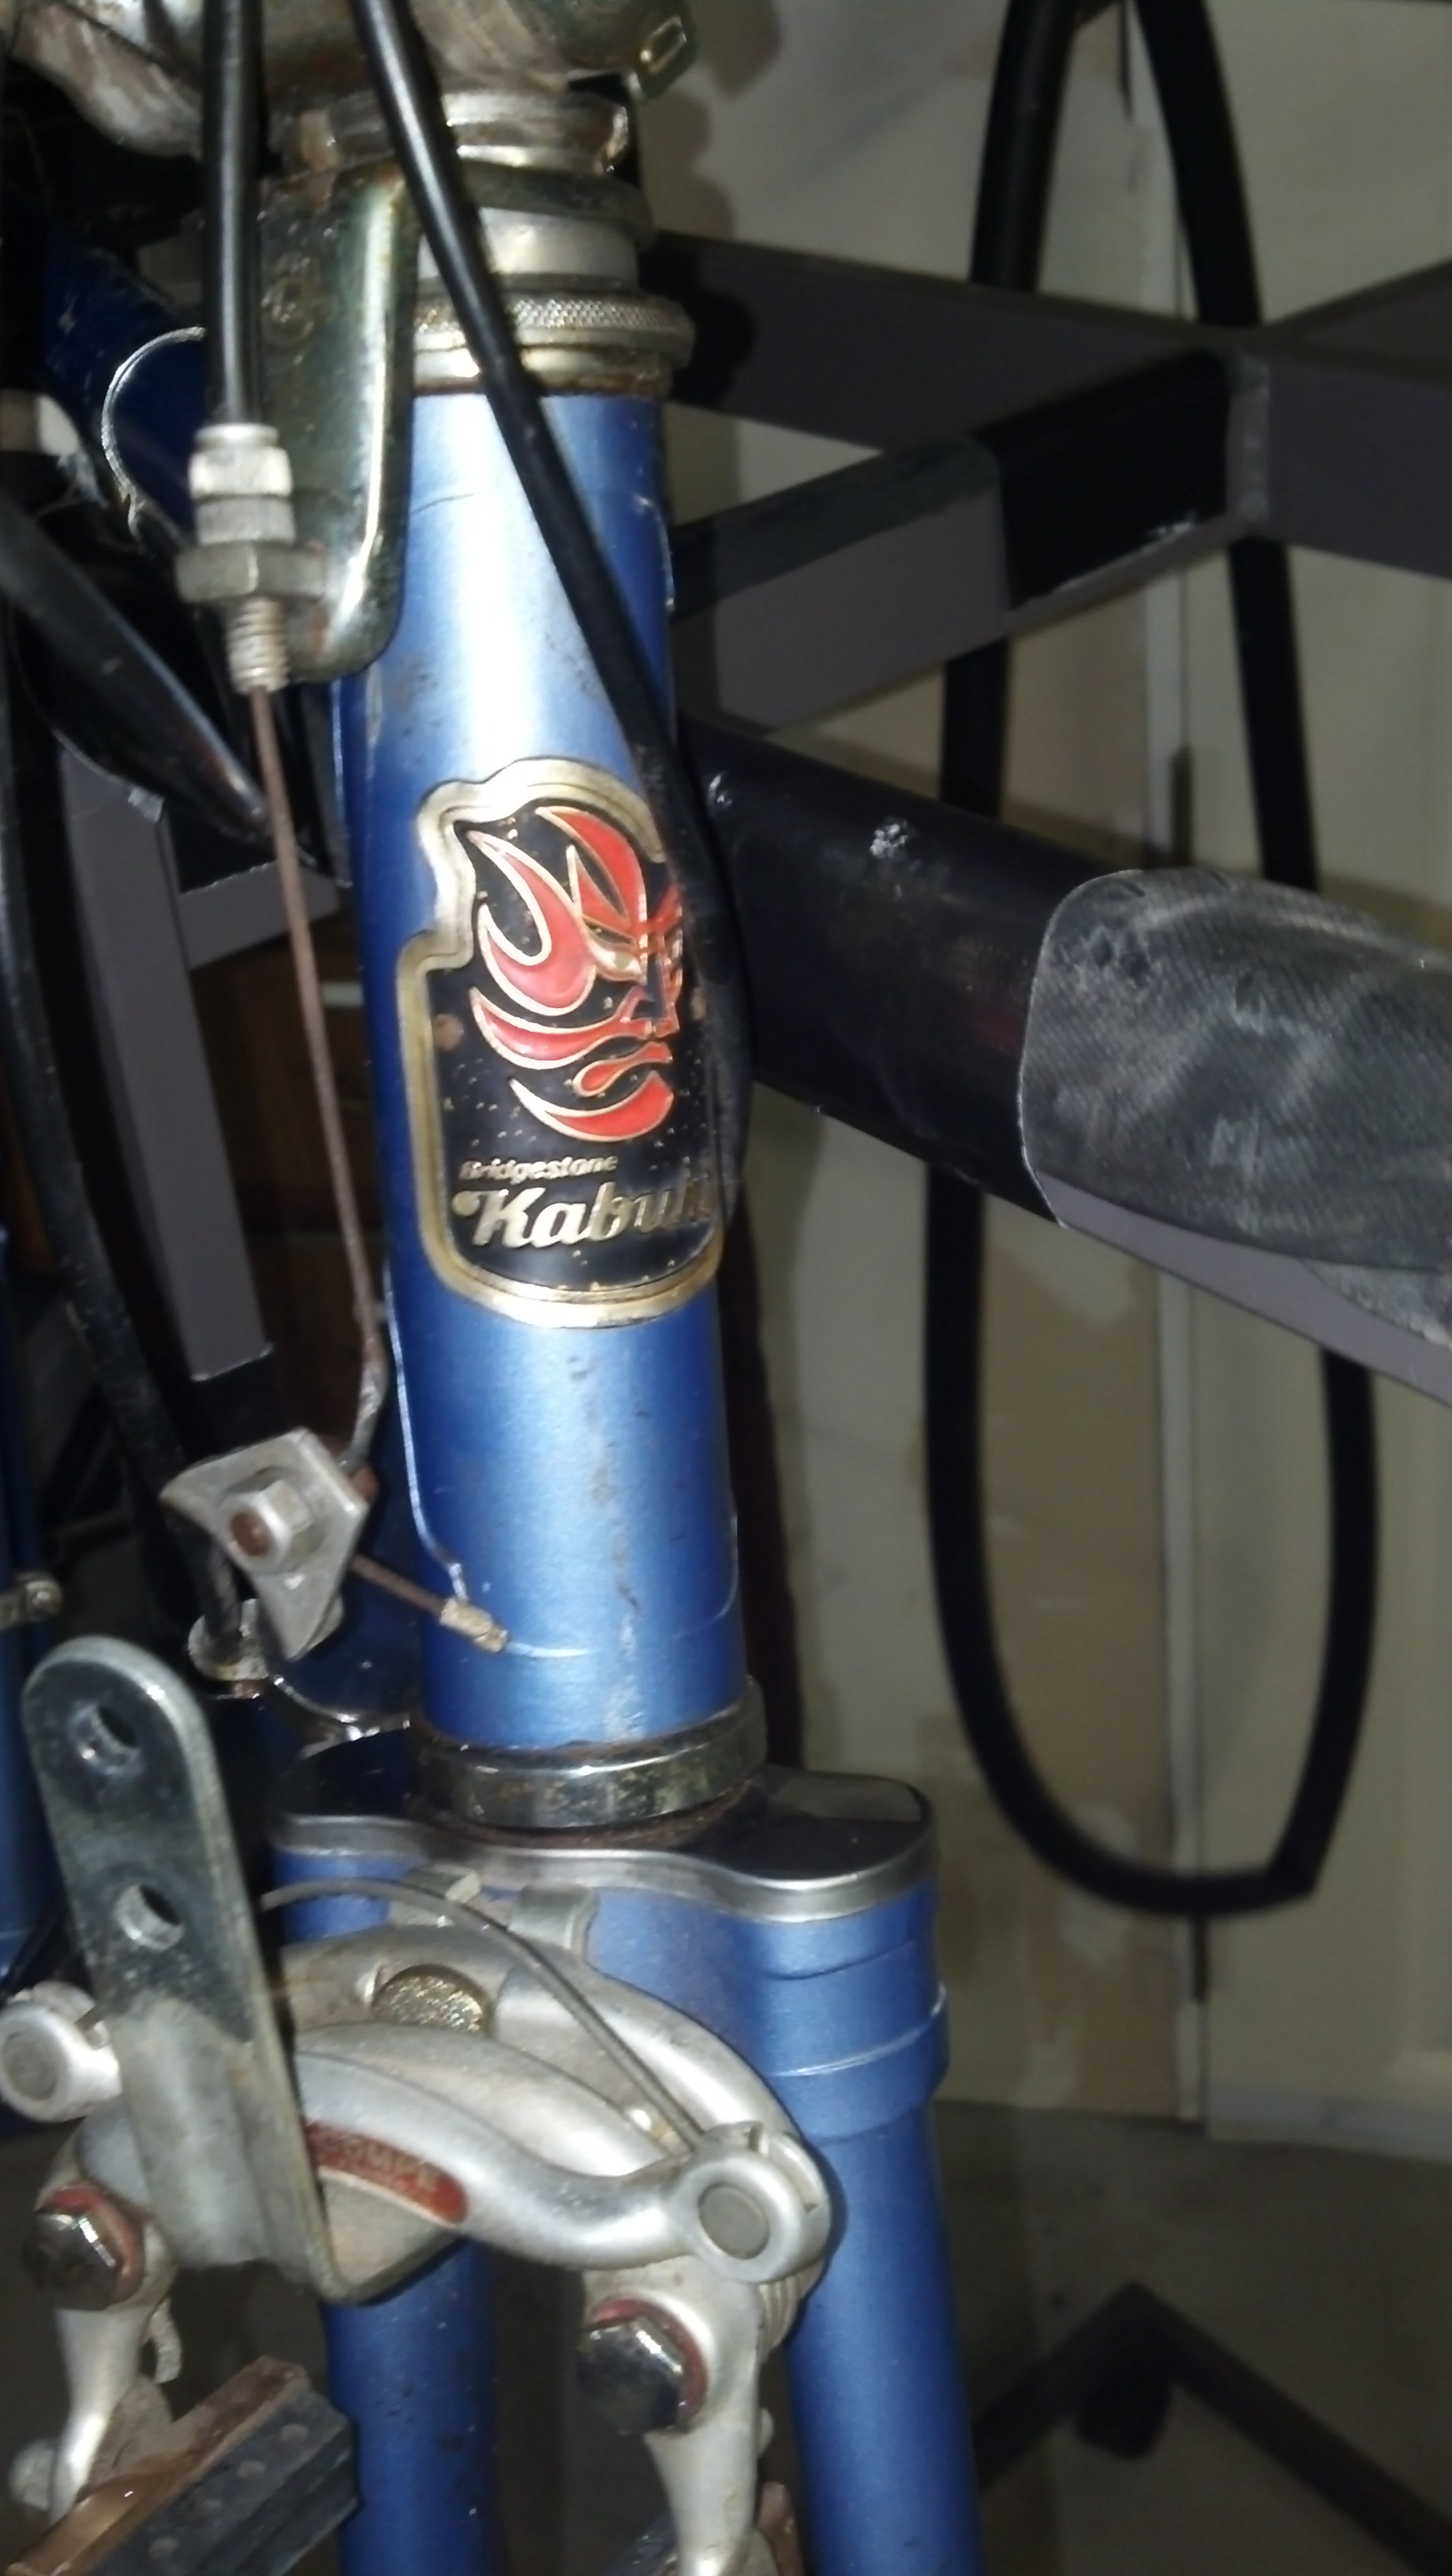
I’d mentioned earlier that I could live with the Kabuki seized seatpost and that I had gauged that the height was just about enough for me. Well, I took the bike out on a slightly more extended road test and realized that the seat height was too low and would make the bike uncomfortable to ride. So I decided to do more research about how to get that thing unstuck. This literally was what I was thinking at the time:
http://www.sheldonbrown.com/stuck-seatposts.html
kabuki specific…pray the post is steel!
http://velospace.org/forums/discussion/1503/help-my-seat-post-is-seized/
if alum in steel, then let it sit outside in cold?
http://www.bikeforums.net/archive/index.php/t-485675.html
http://www.youtube.com/watch?v=-HHtPspj6UE
http://www.youtube.com/watch?v=7Juqbl4wiXA&feature=related
http://www.youtube.com/watch?v=ykltXL-PriE&feature=related
http://www.doityourself.com/forum/motorcycles-snowmobiles-go-carts-atvs-golf-carts/389630-stuck-bike-seat-post.html#b
http://www.parktool.com/blog/repair-help/seized-seatposts-and-stems
It sounded to me like a key determinant of how difficult this was going to be was whether or not the post was aluminum. If aluminum, then it may have galvanized to the steel tube and I was reading some fairly drastic things required to get it out. So I took a magnet to the quill post and it stuck. But I thought it was just appearing to be steel because it had galvanized to the tube and had taken on magnetic properties.
So I decided to go the easy way and work up the WD40 on the tube from both the top and bottom and then try to whack it with a rubber mallet from the side of the post and on then bang it down from the top to see if it would budge, according to one of the web sites above. So I wrapped a cloth around the outside of the seat tube just below where the post entered and got the WD40 in there. Then I thought I could put some WD40 in from the bottom bracket hole, since most BB frame tubes had a hole on top leading up to the frame tube.
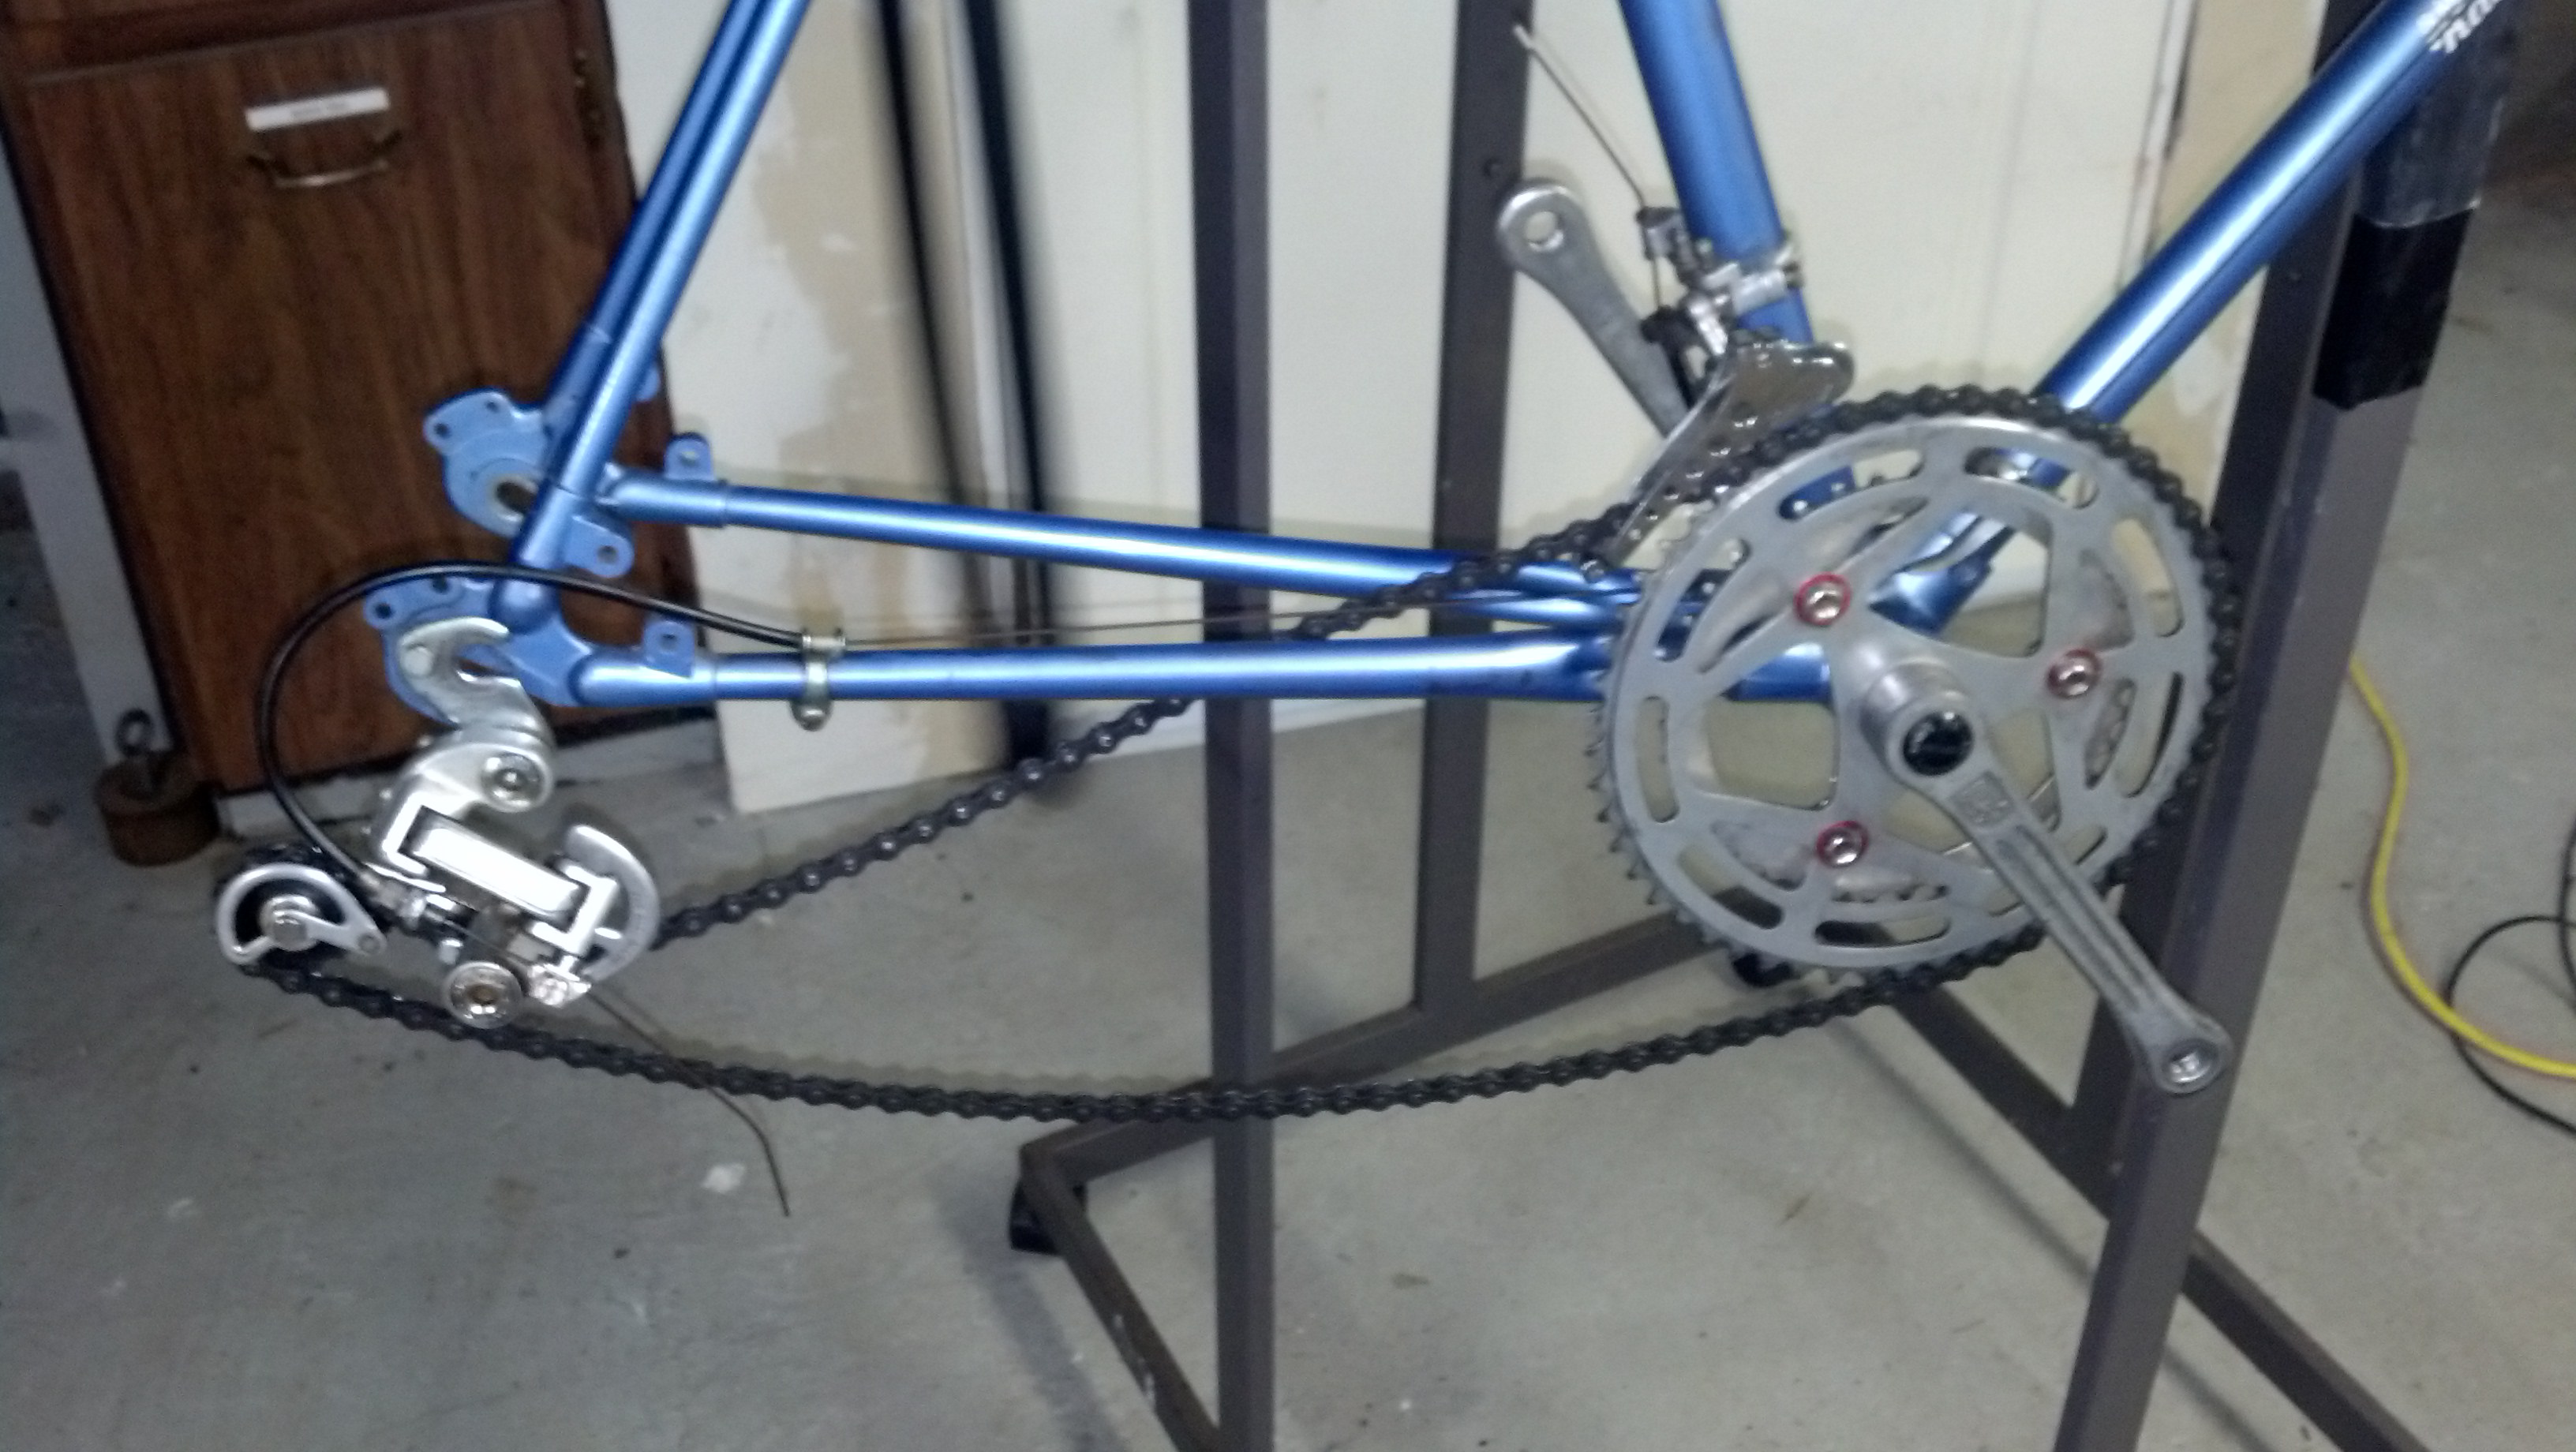
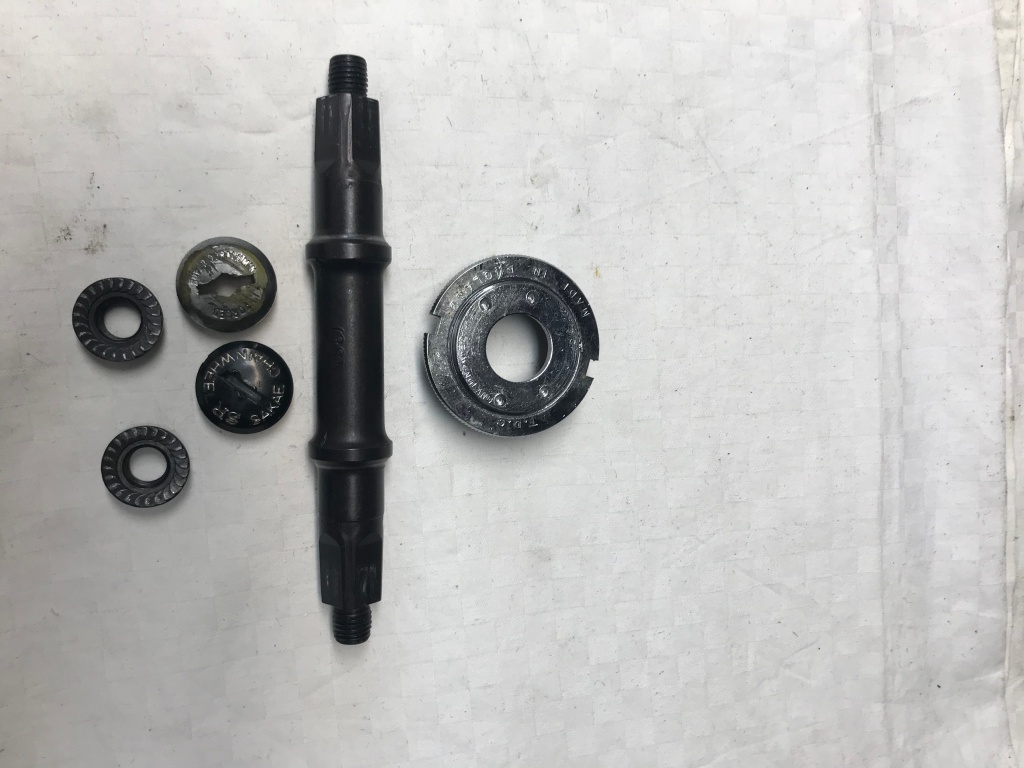
This was the “what was I thinking” moment. I’d thought originally that the cranks were seized but I just forgot that they were tapered and I needed to use a crank puller to get them out, which is what I did and then a couple of other tools to pull out the BB and clean out the old grease.


To my surprise there was no hole from the BB tube up to the seat tube. So I dropped the WD40 into the tube from the top and let that penetrate for a bit while I worked on the BB.

By the way, I need to get a real workstand, this is what I improvised so I could work comfortably on the BB! I suppose I could have just flipped the bike over, but whatever.

Then I went to work on the post.


After I’d say about 20 whacks, the seat dislodged and moved down into the tube! I was almost shocked. So I got lucky and the post was indeed steel, and I am guessing that because it was one of these odd quill stems that it was made of steel, otherwise a generic regular seatpost may have been aluminum in a steel frame as I read a lot of the older bikes were constructed.
Huge breakthrough in terms of making the bike more comfortable.
But I wasn’t out of the woods yet. I then put on the seat and clamped it on very tight and then used the seat to twist and turn until the post started to come out.

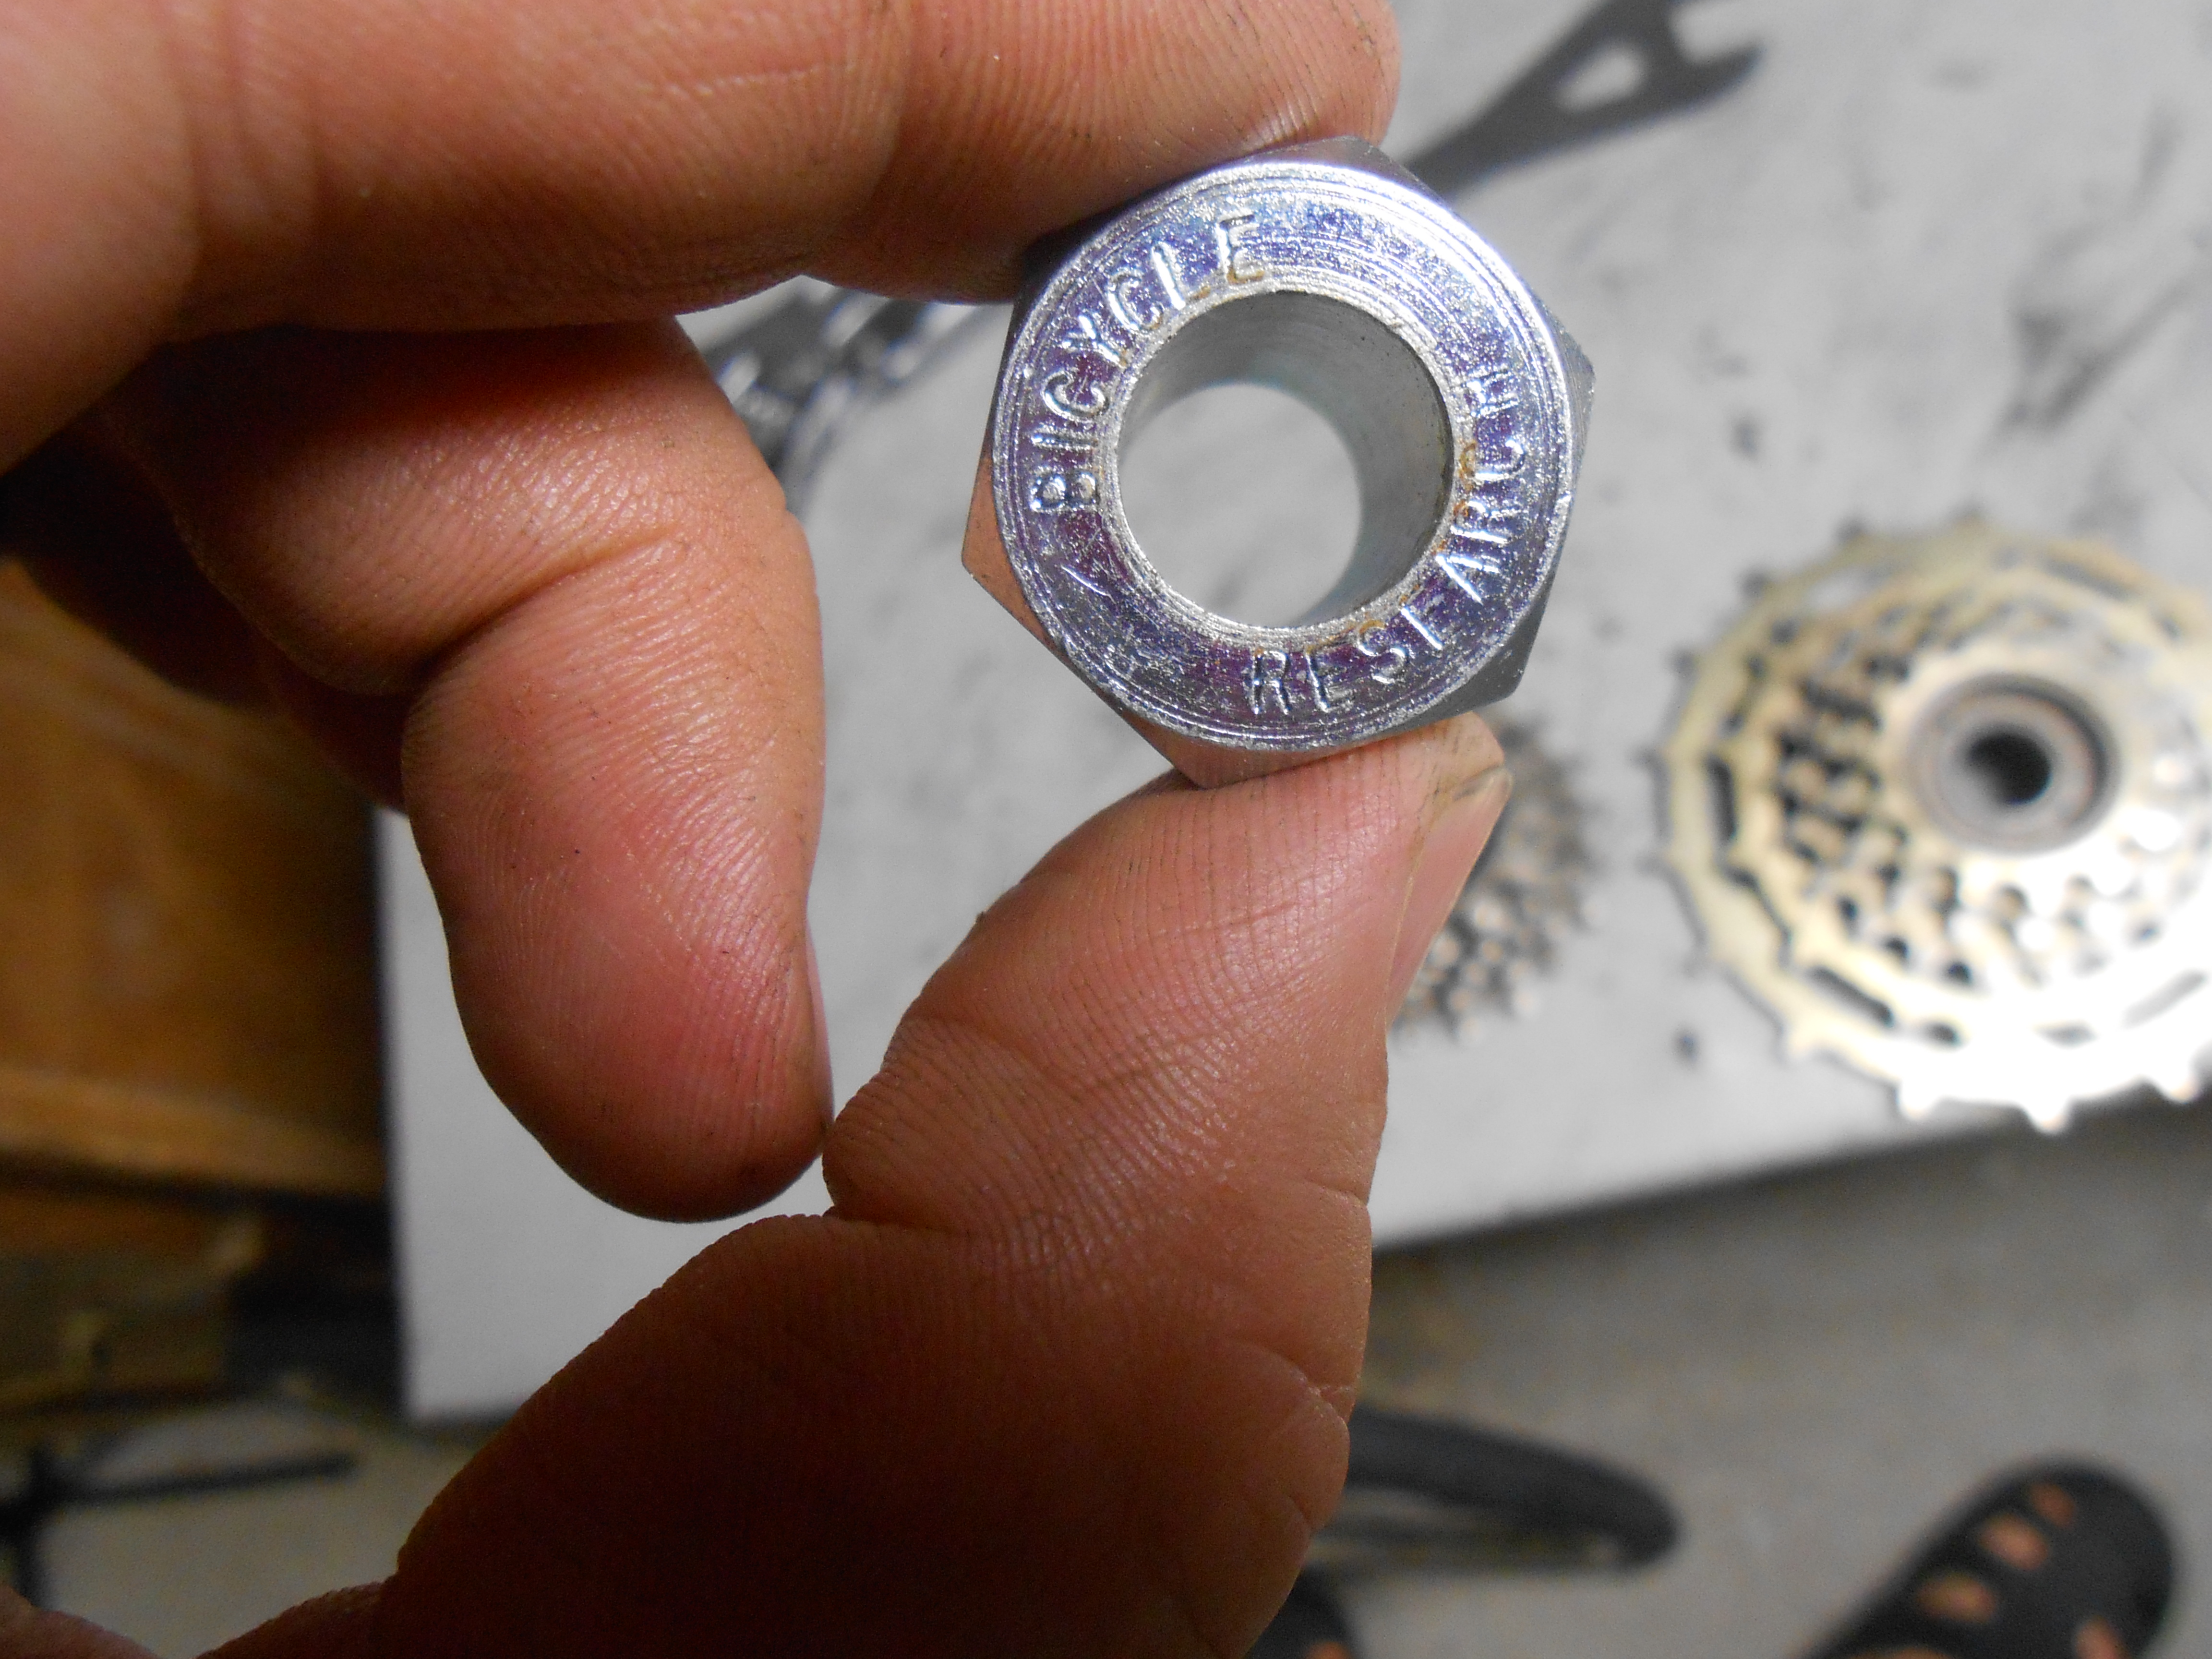
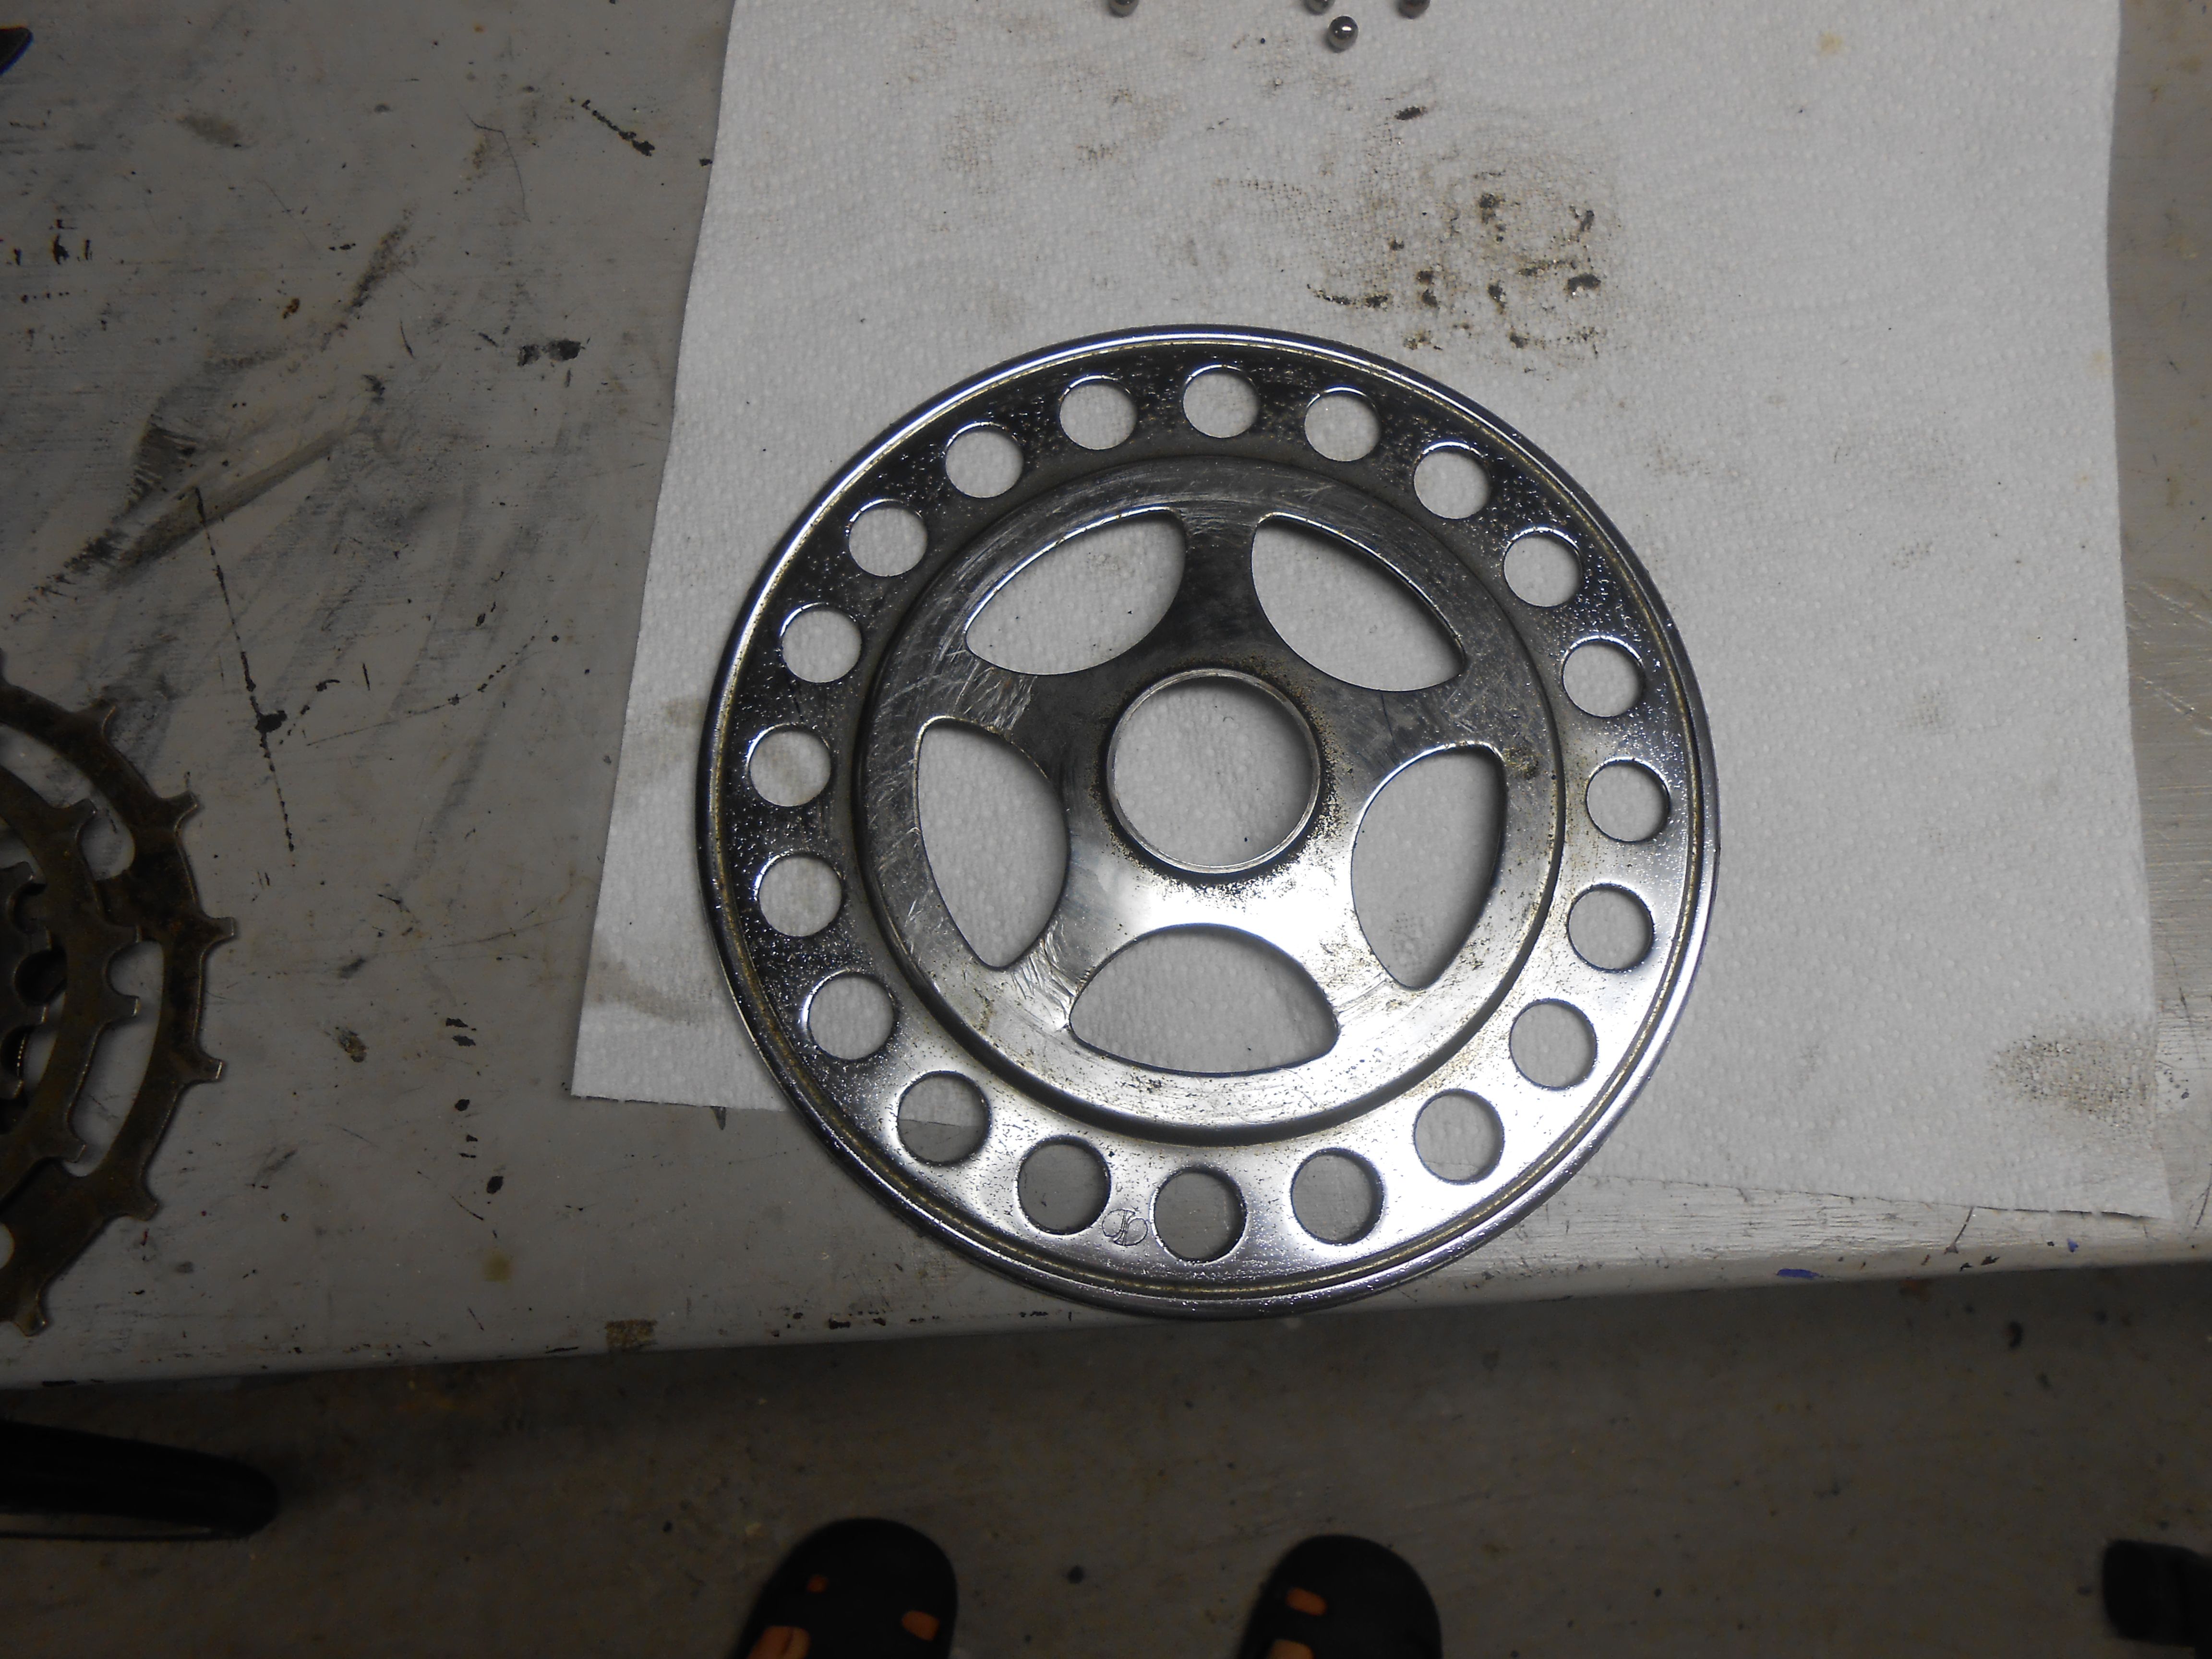
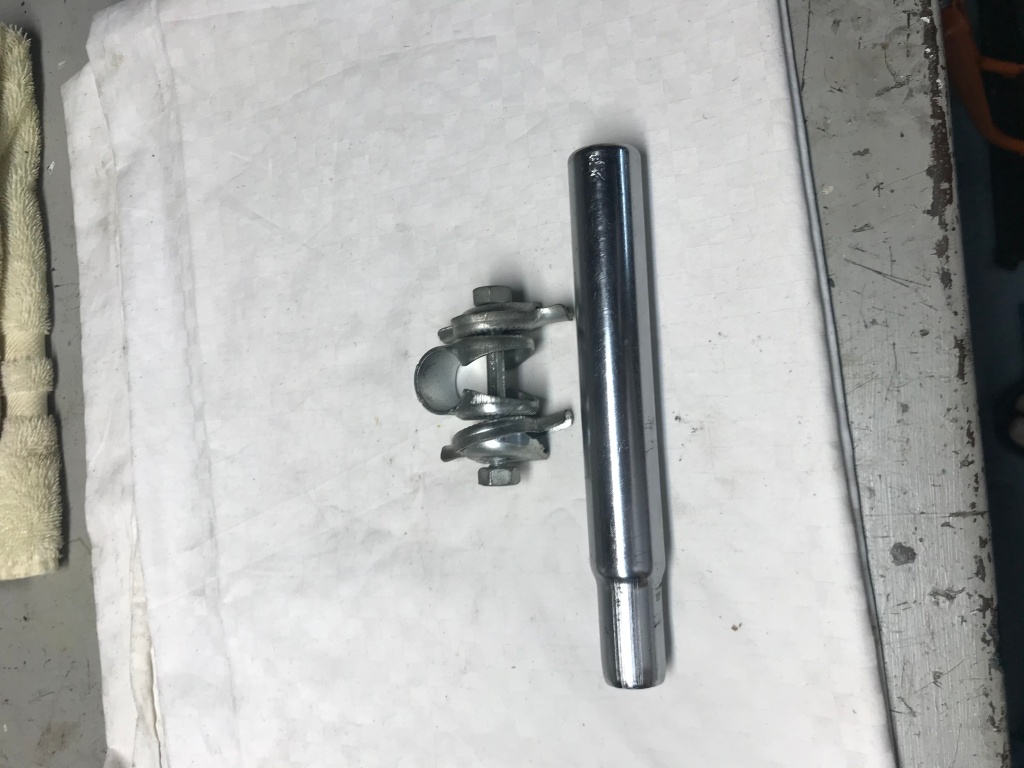
But the bottom part of the quill stem was still in the tube. So I screwed the long bolt into it and tapped it out like this.

And here is the quill post, I see how it works now by pushing up the bottom part against the inside of the seat tube.

I then taped some fine steel wool to a cement auger to scrape out some of the seat tube rust and then applied copious amounts of lube before reinserting the tube and installing the seat.


Was feeling inspired so I did some touch up priming/painting too.

And here’s how it looks now, can’t wait to take out again.


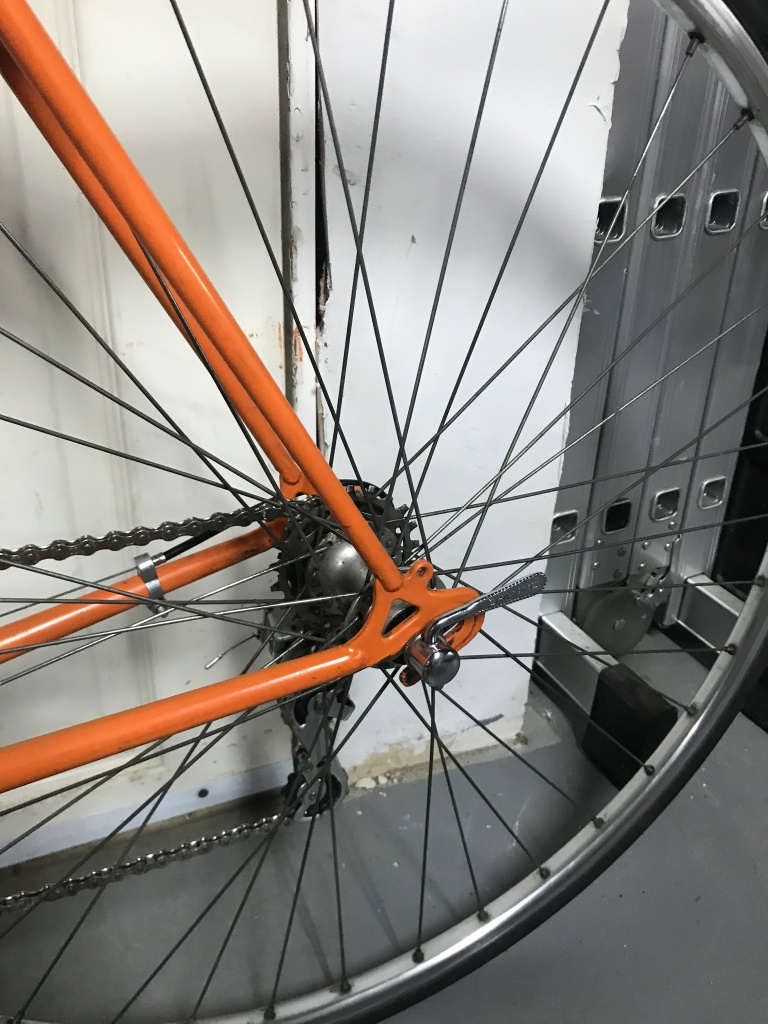
 . I had to flex the frame out slightly to get the axle into the dropouts. I didn’t realize it at the time, but this would later become an issue.
 The internal stem friction wedge was a bit difficult to take out and put back in but I got it to work.
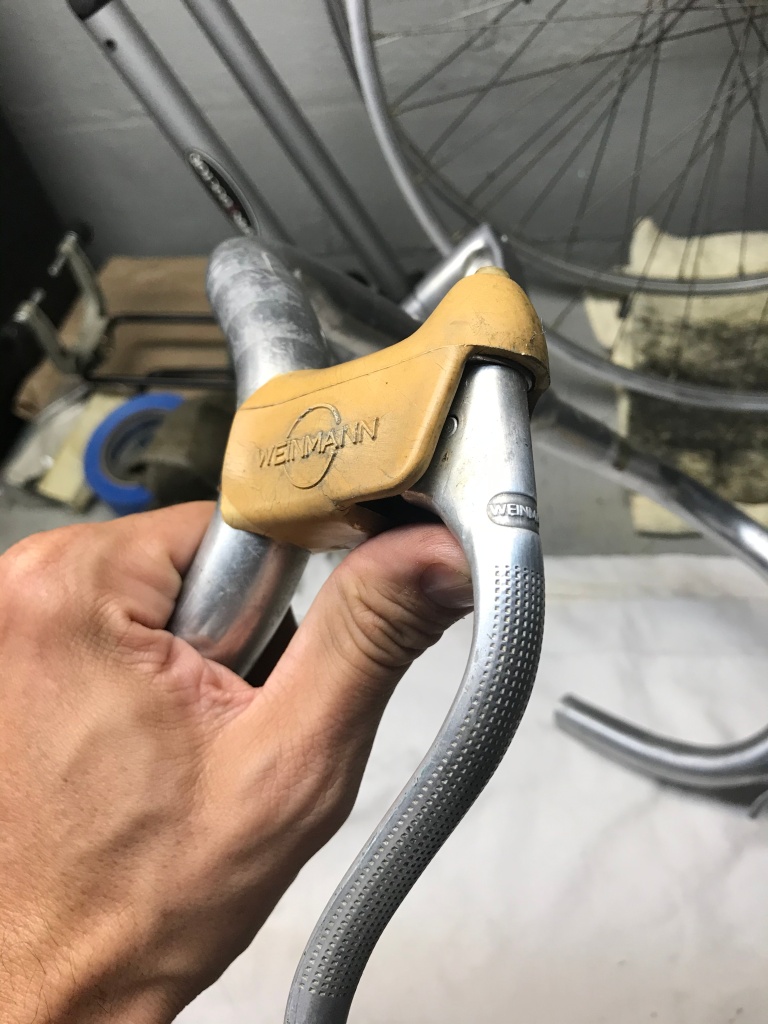
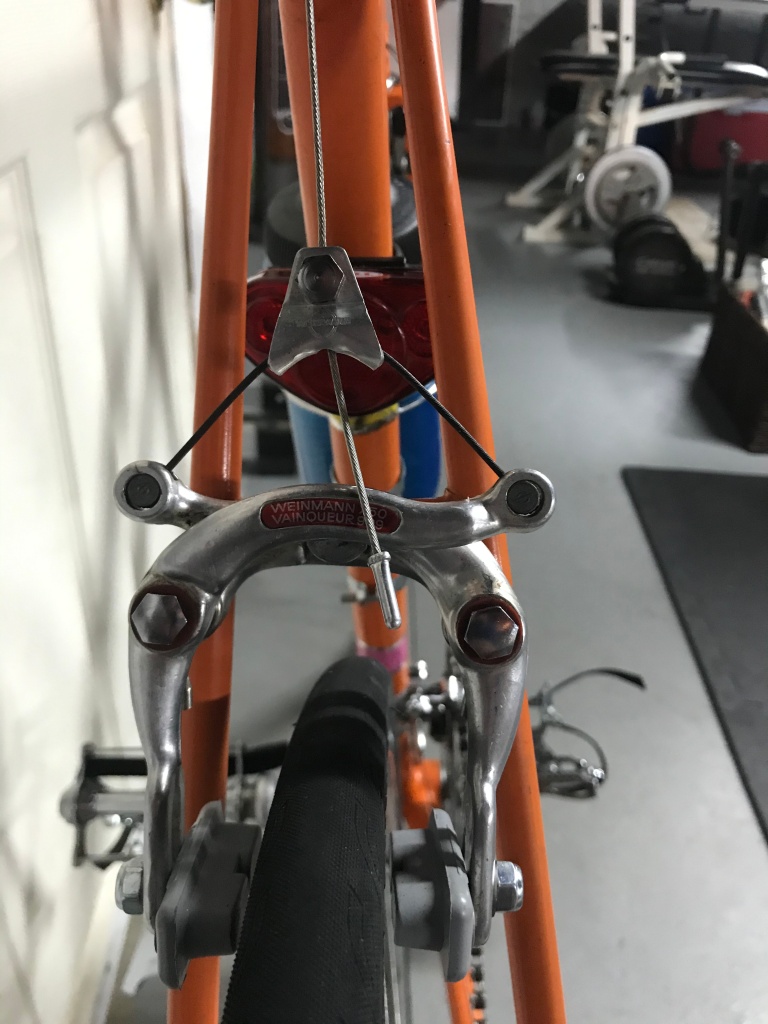
 and I dig the original Weinmann brake hoods
  .
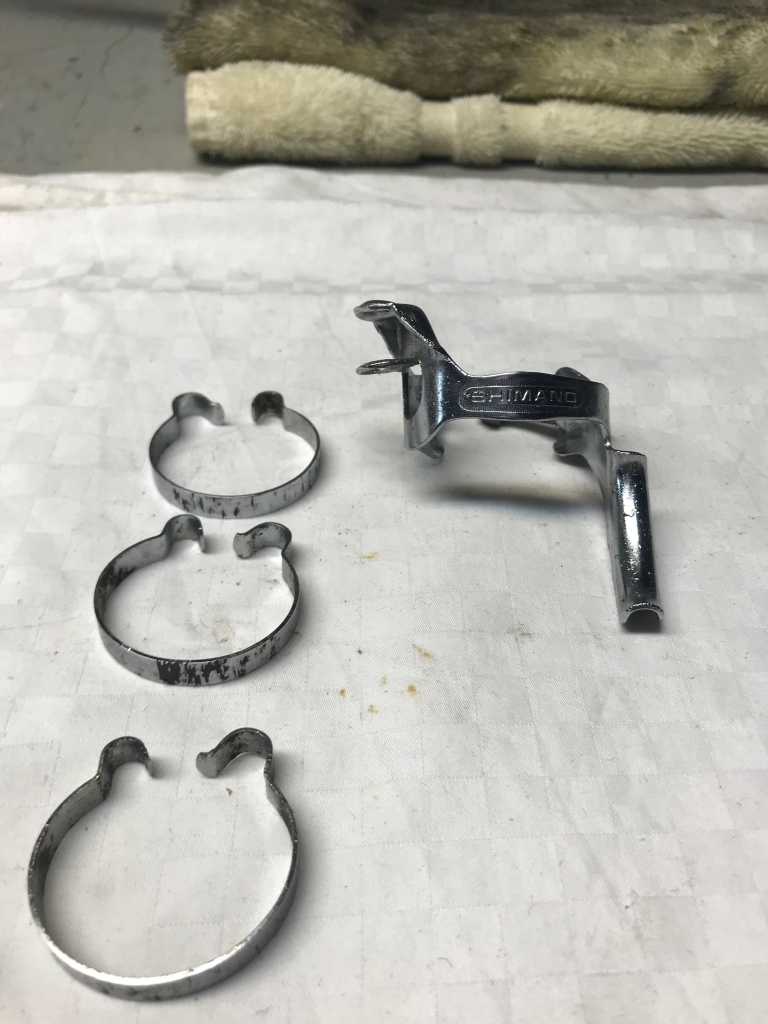
. . The frame originally came with this thing here to custom fit any pump length but it would end up blocking the Eddy Merckx logo so I didn’t use it (see the clamp at left in this photo):
 .
.


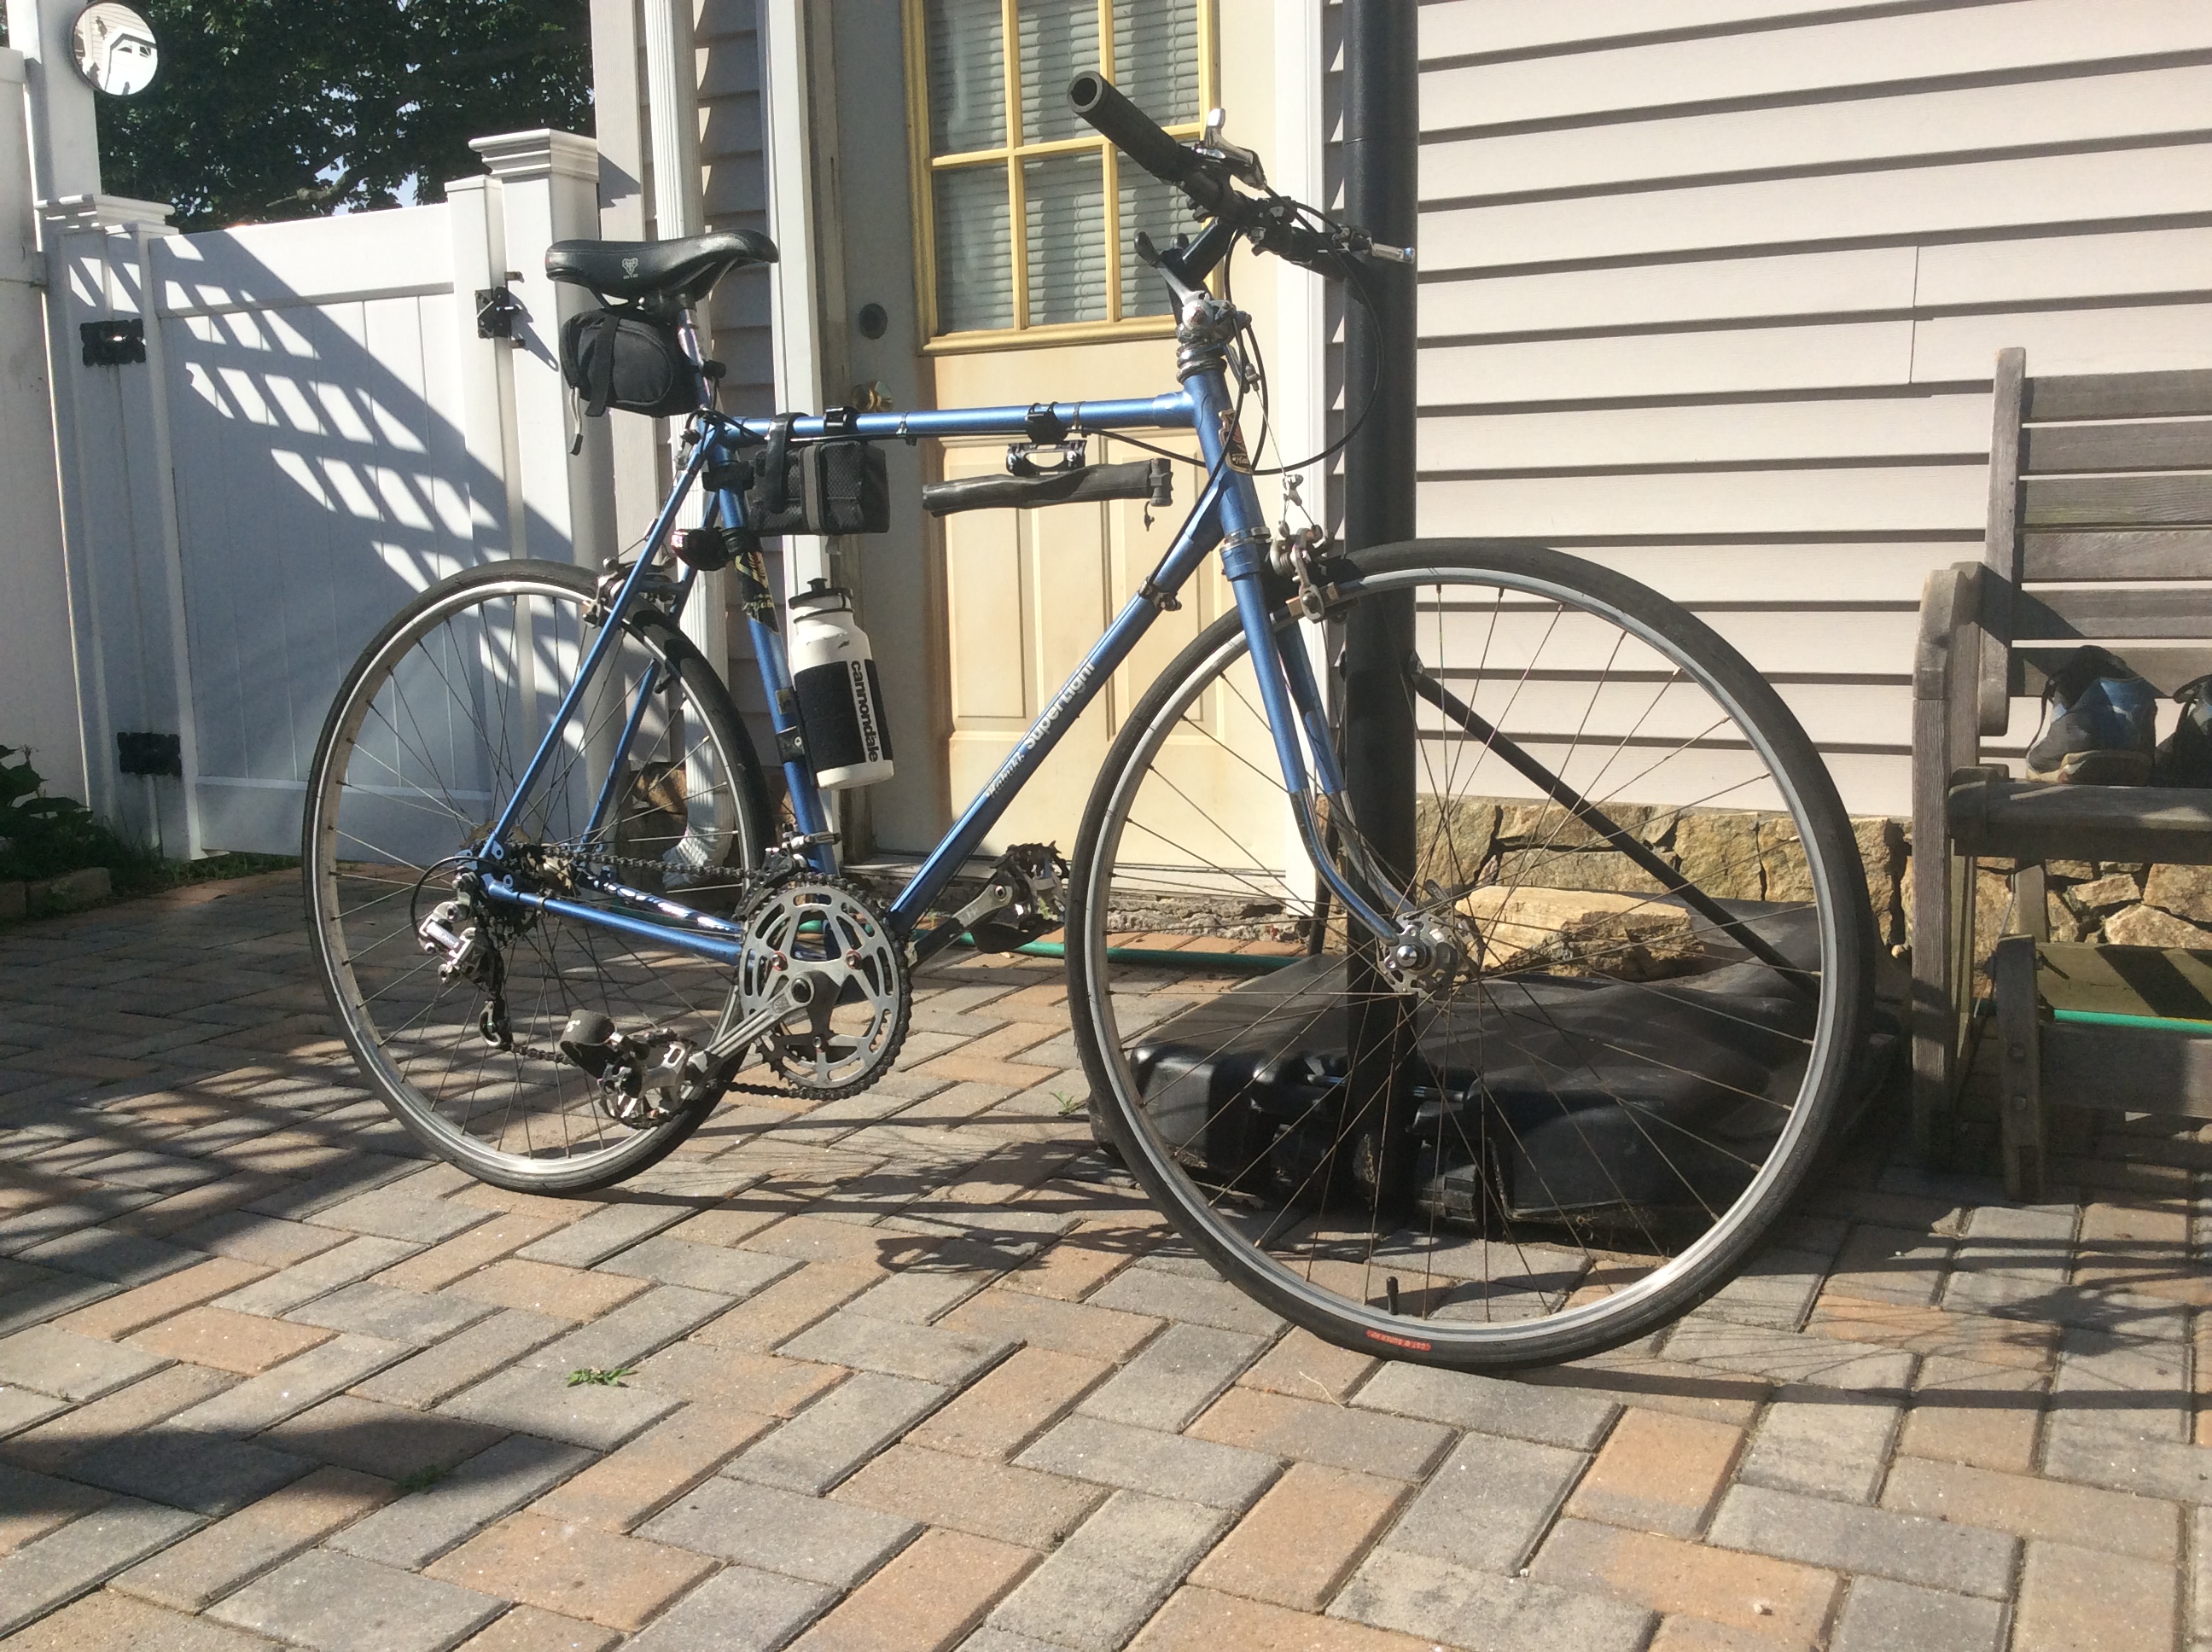
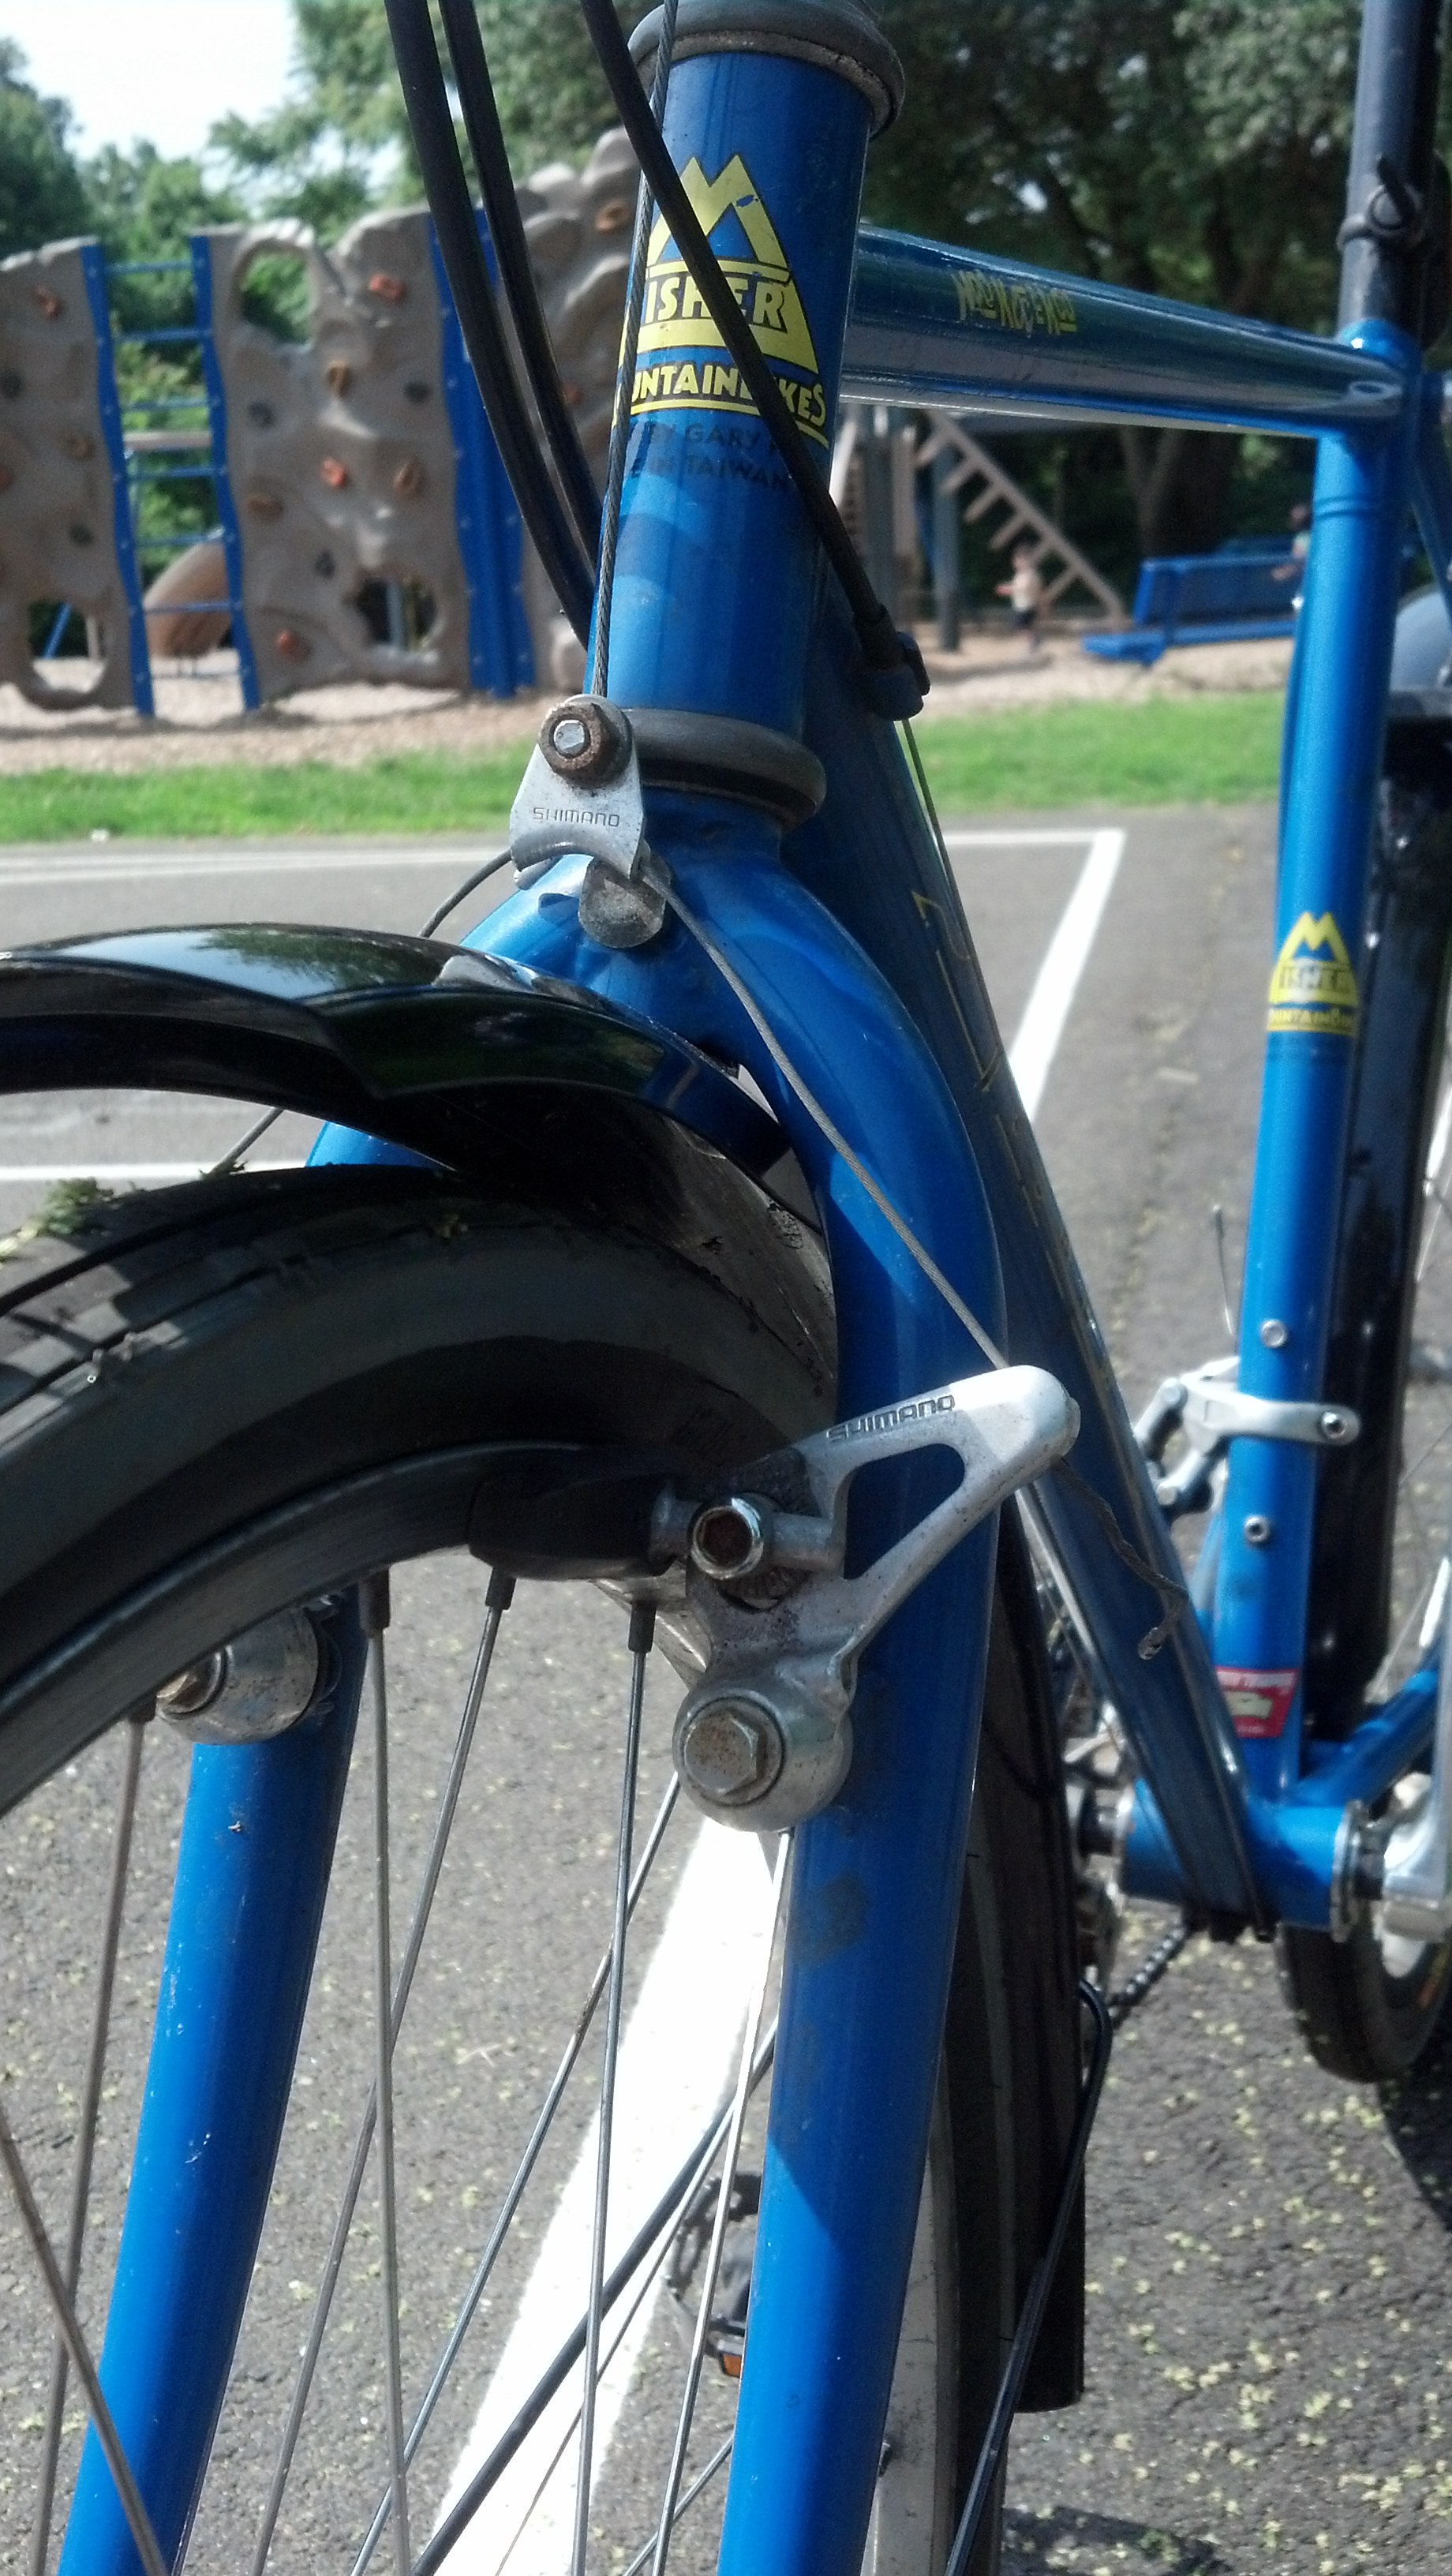
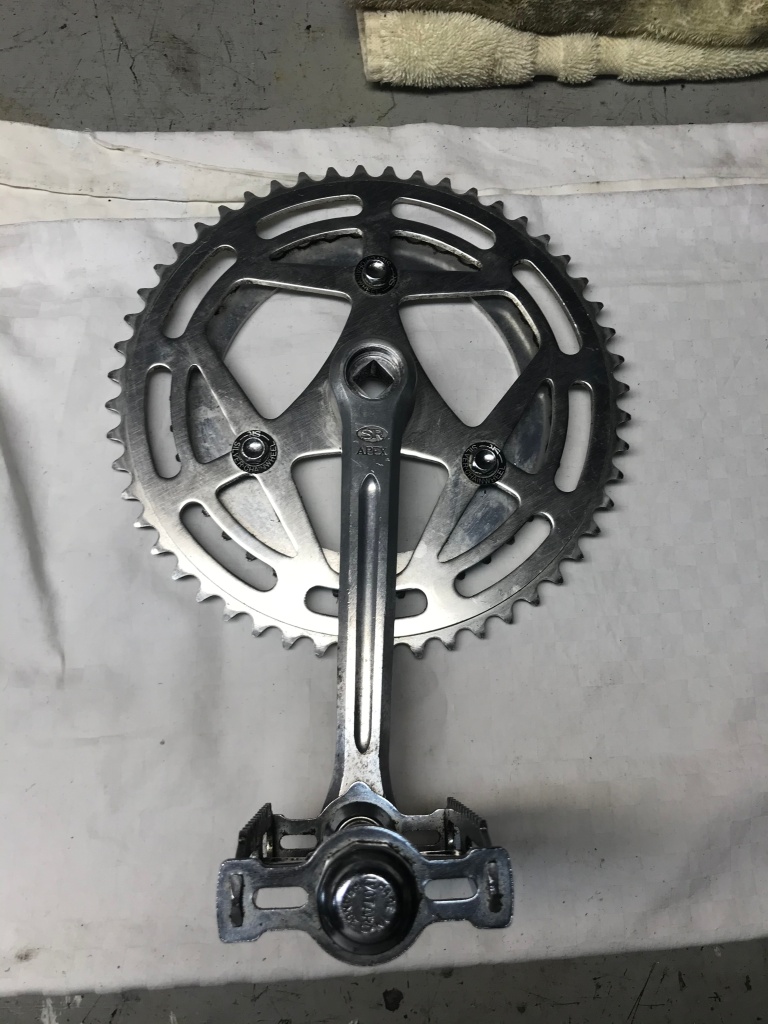
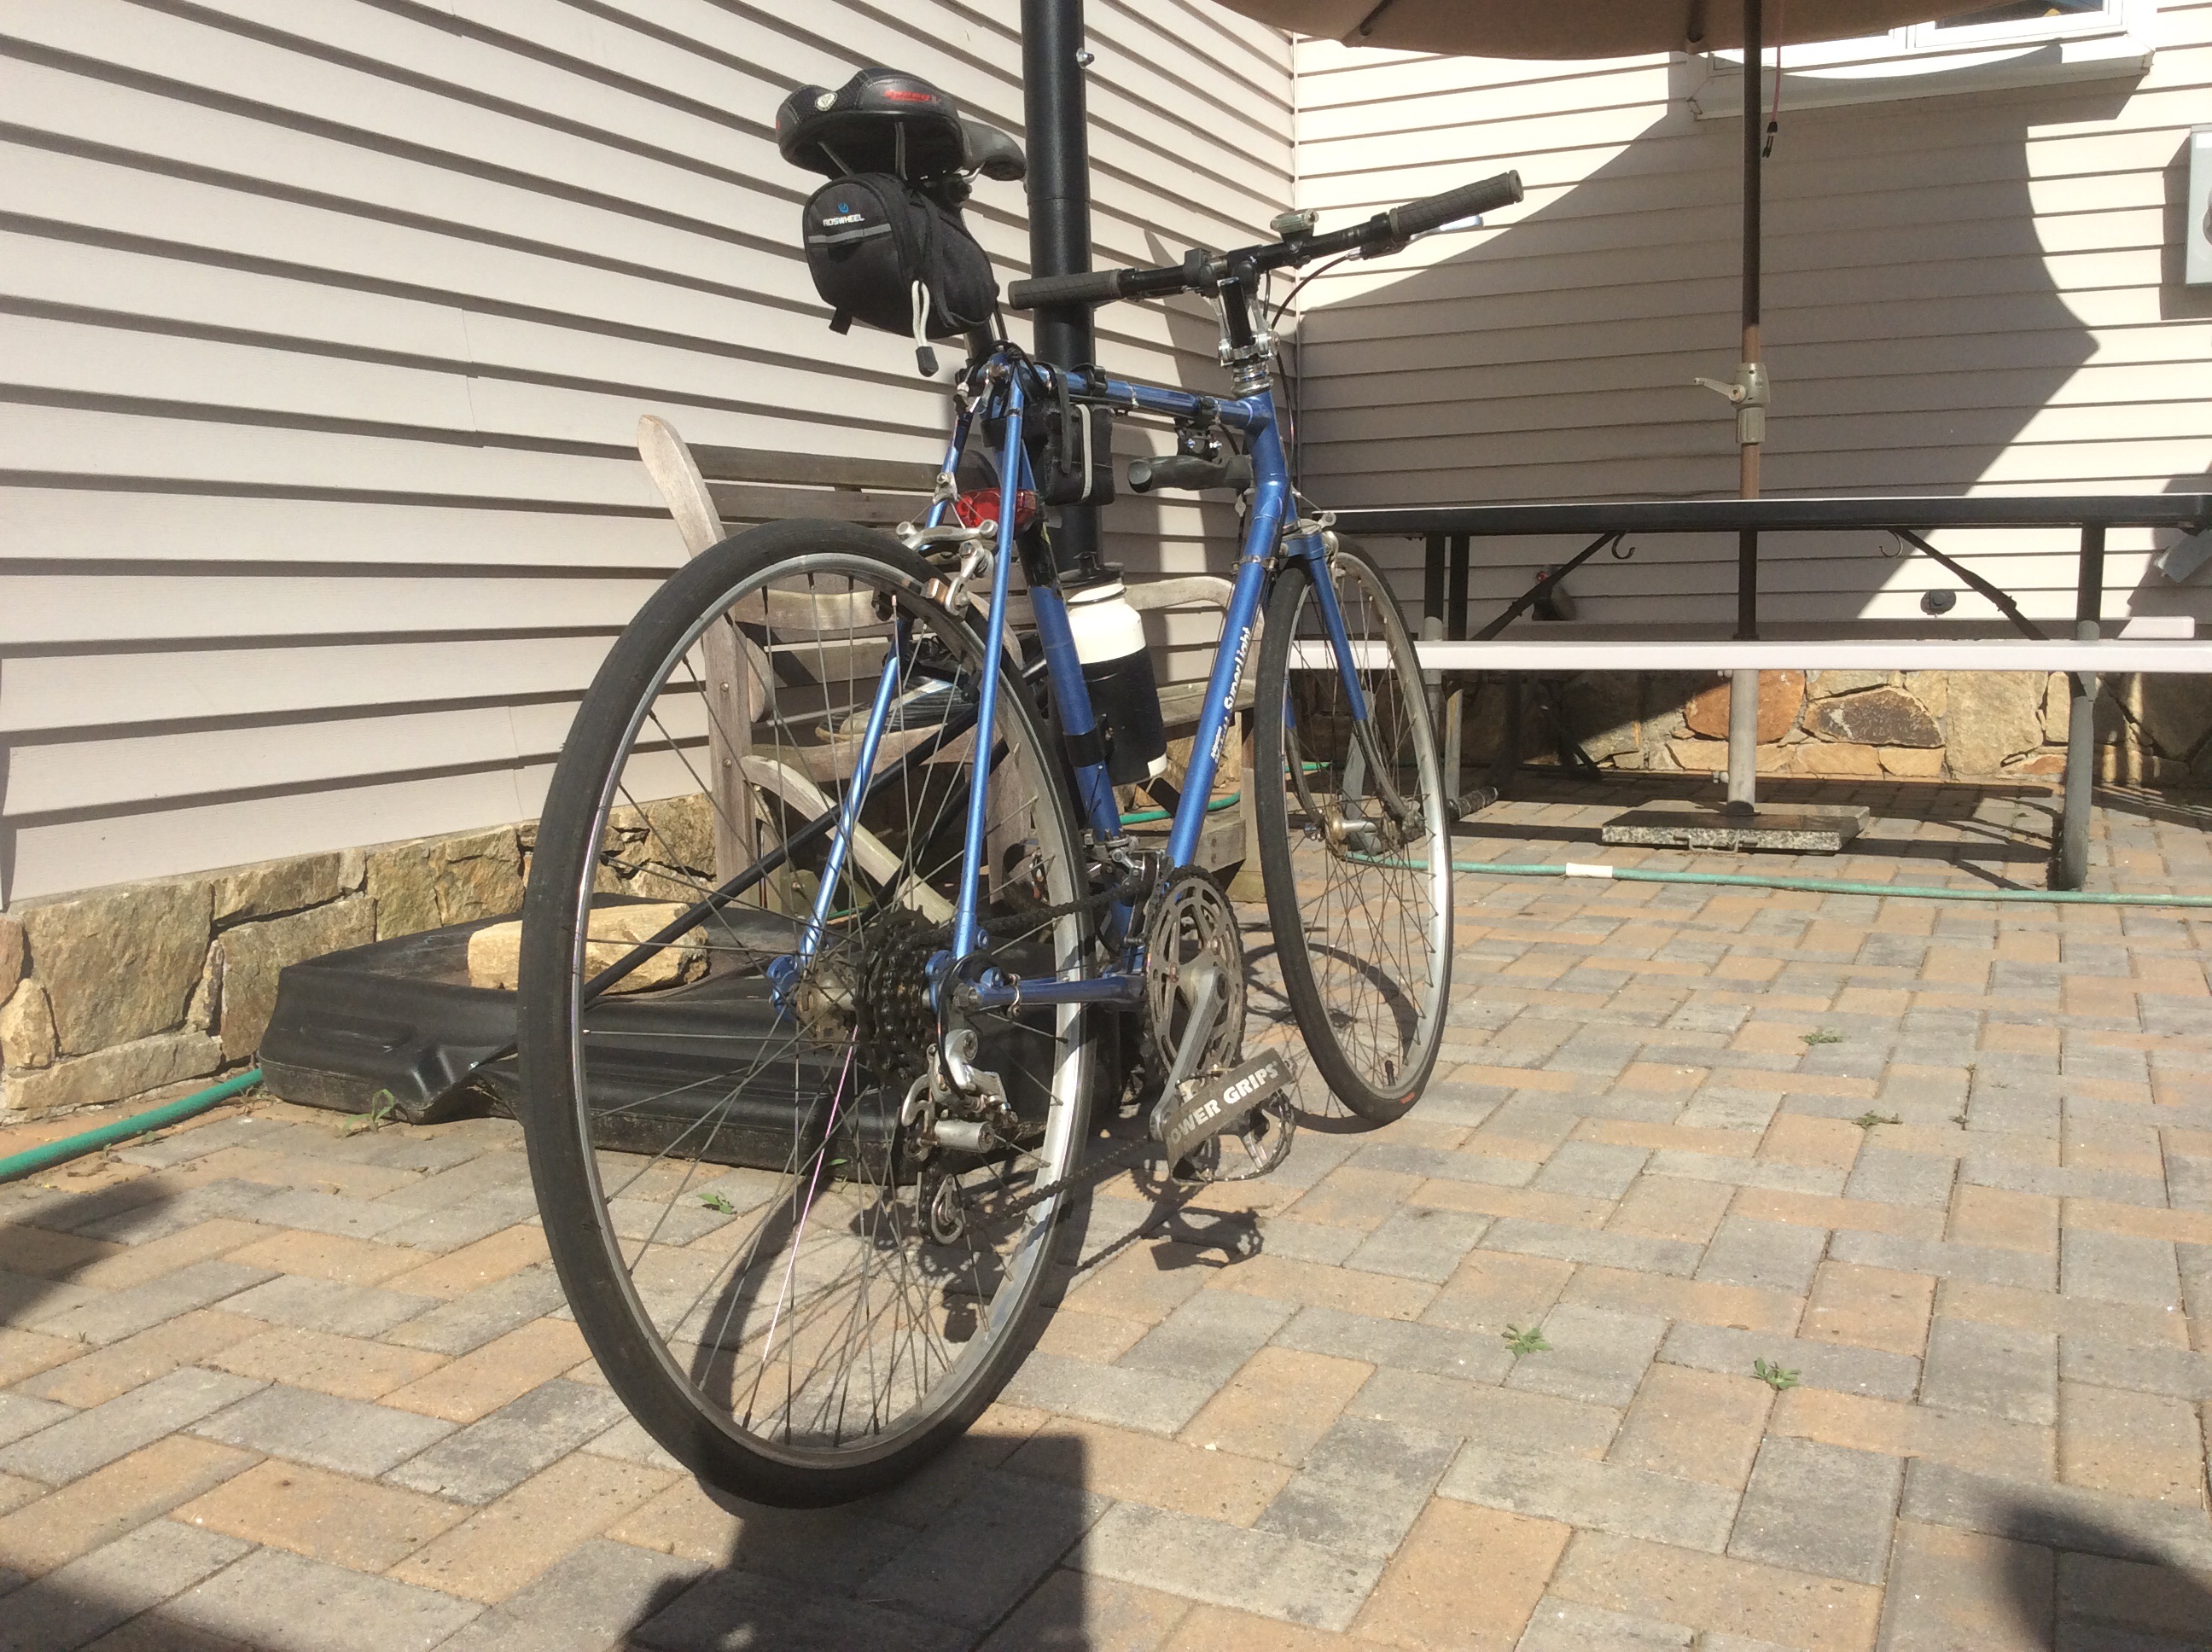 I was able to scrounge parts scavenged from other miscellaneous bikes. No-name riser quill stem and brake levers probably from an old department store mountain bike, and an avenir flat mountain bike handlebar from my Gary fisher Hoo Koo E Koo gave me a much more comfortable position on he bike. Also got rid of The Time pedals since one of them had loose clip springs and I went with flat mountain pedals with power grip pedal straps which I love. Then I got a little more creative with the frame accessories since this bike doesn’t have mounting Allen bolts in the main frame triangle.